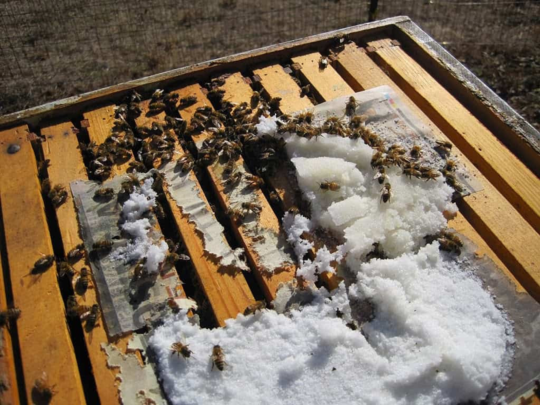
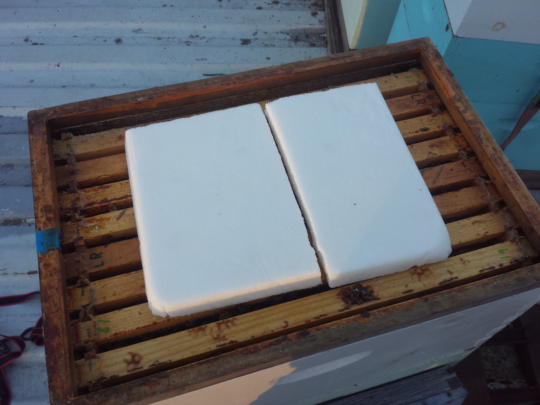
Bees can’t break the cluster to take sugar syrup when it is below freezing, but fondant can be placed on the frames right over the cluster giving them easy access to food. It can be made in advance and stored in plastic zip-lock bags in the freezer.
This recipe was originally provided by Loyd Luna, AABA Past President, and appeared in our January 2008 Newsletter. This updated version was provided by the current AABA President, Carl Guerci.
Ingredients:
- 5 lbs of White Granulated Cane Sugar (not organic)
- 3 cups of Water
- 1¼ teaspoons of Vinegar (Apple Cider or Plain)
You’ll also need two metal cookie sheets or shallow trays, covered with aluminum foil and wax paper or Parchment paper (reusable)
The fondant can be lifted off so the bees don’t have to get rid of wax paper.
Technique:
Boil 3 Cups of water in a 4 qt pot. Remove from heat.
Add 5 Lbs Sugar & 1¼ tsp Vinegar.
Stir to dissolve.
Cover stove, there will be spatter.
Insert a Confectioner’s thermometer. Mark 250°F
Bring to boil, reduce heat, but maintain a gentle boil. Temperature will be ~225°F.
After ~30 minutes temperature will begin to rise.
As syrup thickens there will be a roil of ~¼” bubbles.
When the temperature reaches 250°F, larger bubbles will be forming.
Place pot in a sink with about 4 inches of cold tap water.
Stir, folding the syrup, with a whisk or a rubber spatula.
This is an important step. Mixing adds air, which promotes sugar crystal formation.
As the syrup cools there will be stiffness in the bottom of the pot.
Keep stirring, blending in the stiff material. The syrup will start getting cloudy.
The fondant is beginning to set. Stop blending.
Remove the pot. Dry the bottom.
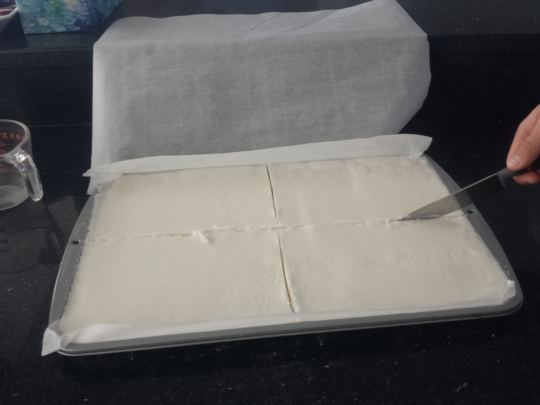
Pour mixture onto lined cookie sheets. Use a stiff rubber spatula to clean the pot.
The fondant should be getting cloudier. Lightly score (quarter) the fondant with a knife.
Allow to cool undisturbed. Allow the fondant to dry.
Place fondant between wax paper and freeze.
There is still moisture in the fondant. Place it in a warm place such as the top of a refrigerator.
When the fondant is very dry store in a sealed container.
To Use:
Remove the fondant from the zip-lock bag or plastic wrap. Place the fondant on top of frames right above the cluster. Cover the candy and the space around it with cloth or newspaper to fill the airspace. You can also place the fondant on 1/2″ wide strips above the cluster.
Note: Remove any candy or syrup from hive as the weather warms.
Read More


